 As explained in the main page for the project, this first phase of the overhaul of Brookes No. 1 (Hunslet 2387 of 1941) consisted of those parts of the work that could be carried out while waiting for space in the workshop to become available.
Click on the links below to track our progress during this phase:
April 2013
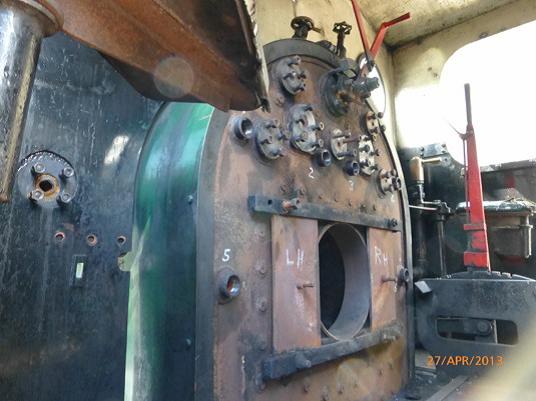
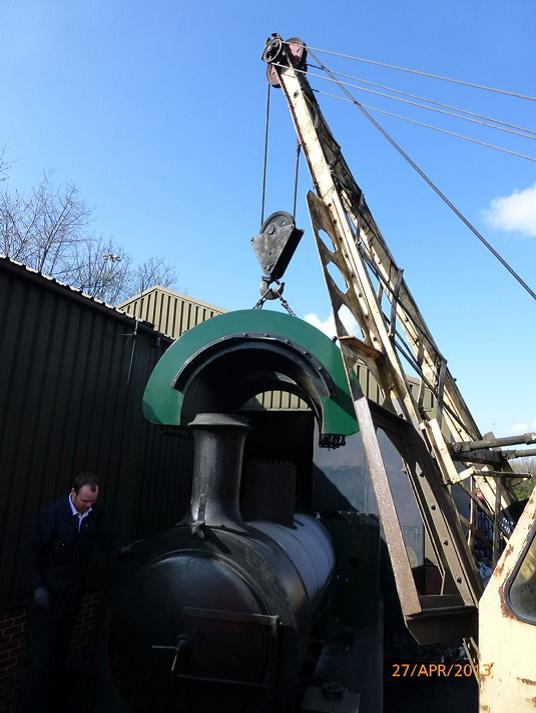
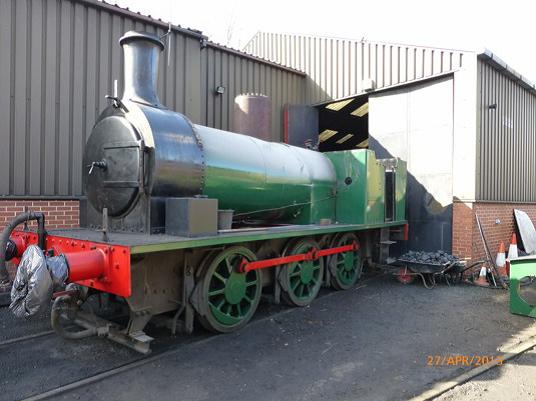
In April 2013 we began the process of dismantling Brookes No.1. In line with our promise to encourage our younger members to be involved in the work we let them get on with many of the jobs. The controls in the cab were removed as far as possible and put into storage. Then the external fittings holding the saddle tank such as the whistle, safety valves and injector pipework were removed. When the tank was ready to come off the loco was moved outside. A crane was used to lift the tank away and it was put into storage until the locomotive would be ready to receive it once again in a couple of years time.
May 2013
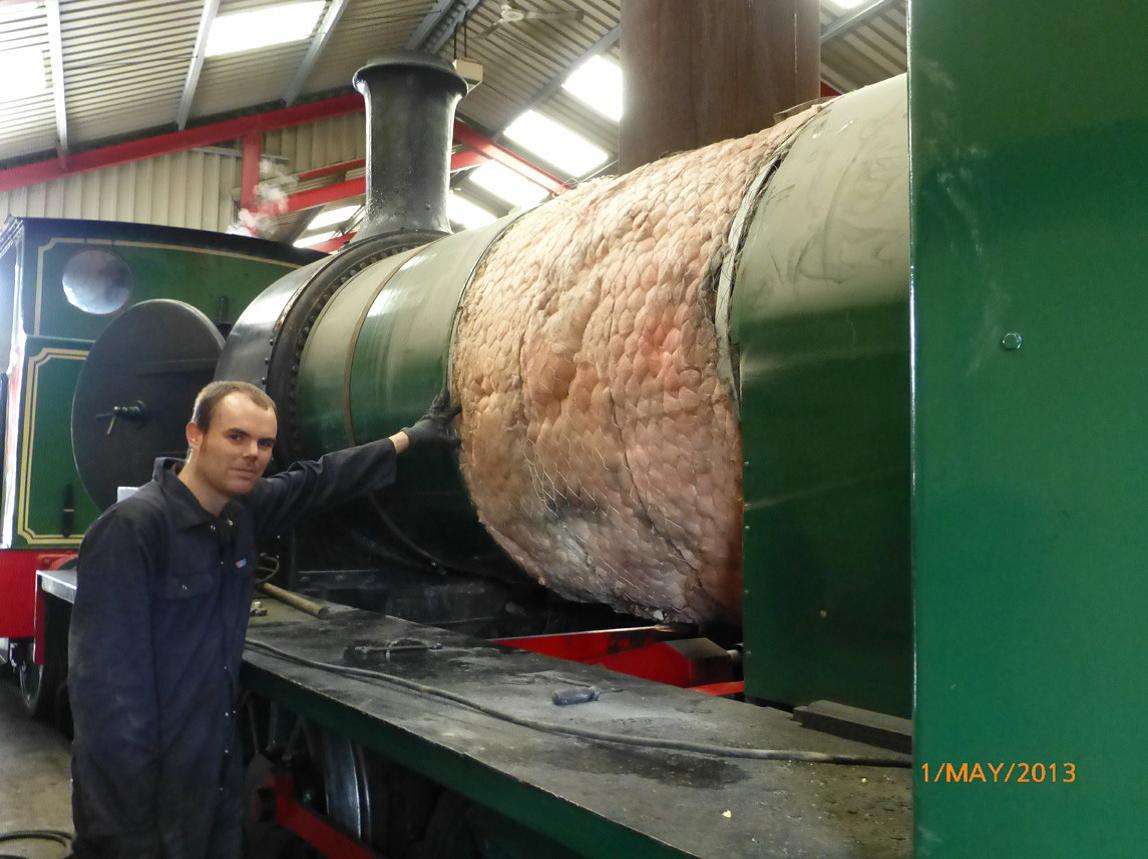
The next stage in dismantling Brookes was to remove the boiler lagging. First, the steel sheet cladding was removed, then the lagging. The locomotive was originally built in 1941, and at that time the lagging would have been asbestos. Now that the dangers of asbestos have been recognised, we use a glass or a ceramic fibre.
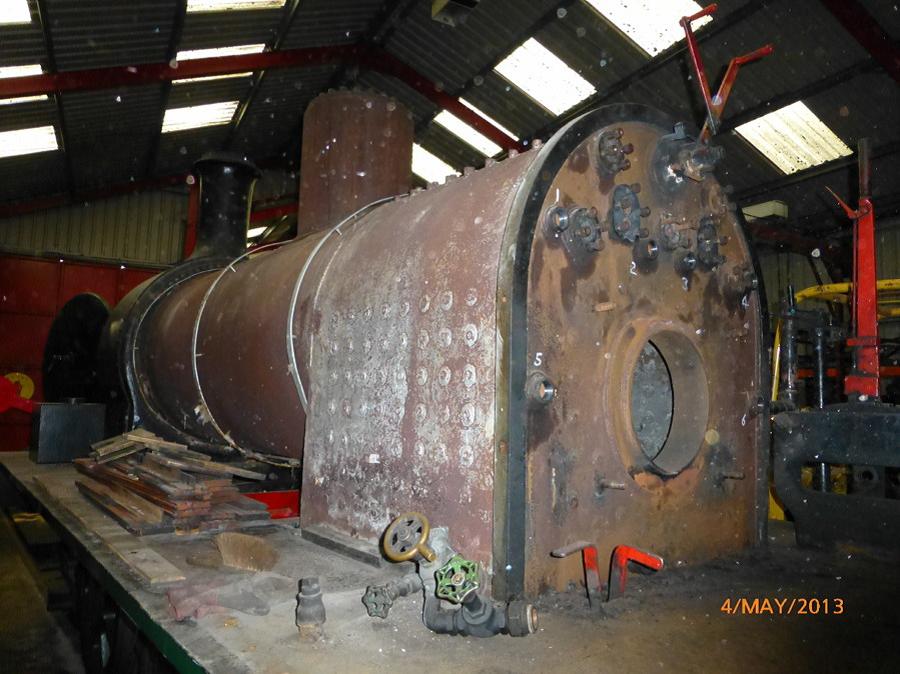
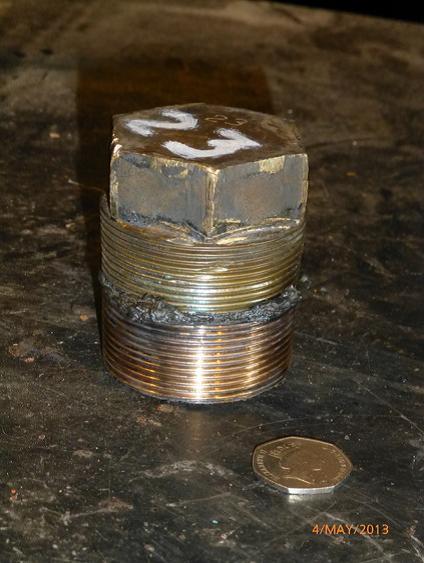
Once the lagging had been removed the boiler was in its 'naked' state and twenty or more wash-out and inspection plugs had to be removed. The boiler then had its final fittings removed, received a good clean down and was lifted from the frames for storage outside.
June 2013
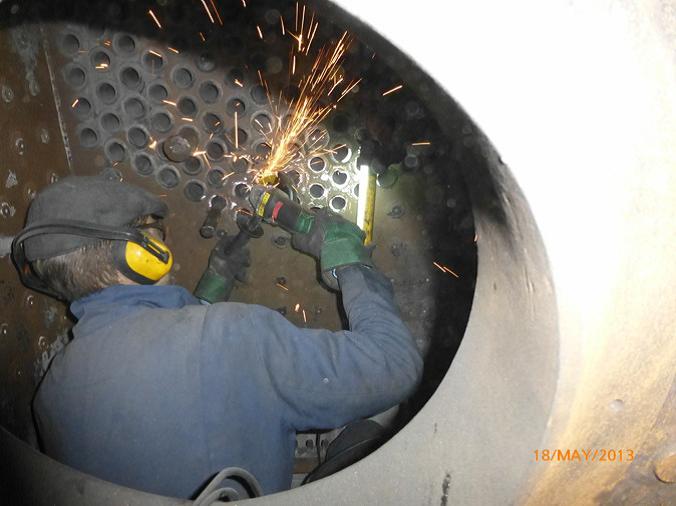
The rather large task of removing the 150+ tubes from the boiler was completed in the rest of May and into June. This involved grinding off the 'bead' in the firebox end (designed to stop the tubes burning away while in use) and hammering them out. The tubes were then cut off at the smokebox end, hammered back into the boiler and fished out through a specially enlarged tube hole at the bottom of the front tubeplate. This operation was hot, loud and above all hard work, taking several weekends to complete. This was not the only reason why the younger volunteers were asked to get involved, though!
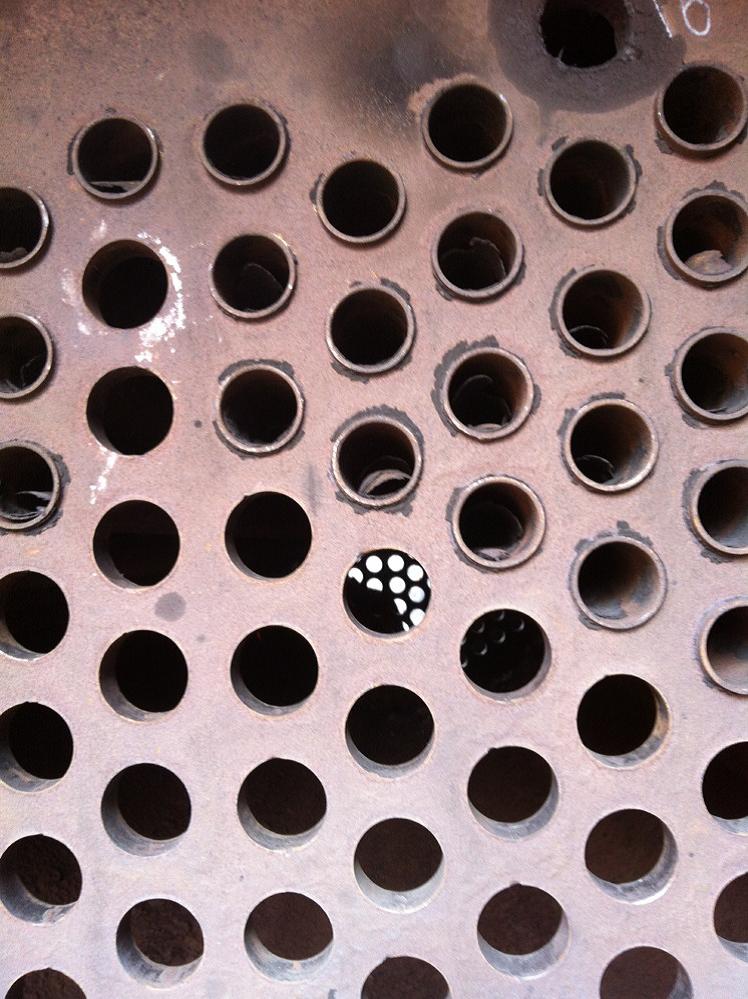
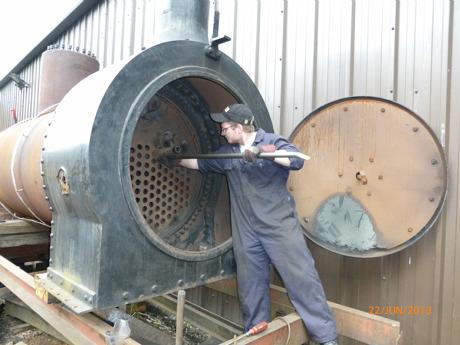
Once all of the tubes had been removed, the boiler inspector could examine the boiler properly, and carry out the ultrasonic tests to find out whether any repairs to the boiler shell would be needed. The outcome of this was that the boiler was given a clean bill of health, and so one of the special contingencies for which we had needed to make allowance in planning the project could be eliminated, which was definitely good news.
Summer 2013
A start could now be made on the bottom end of the locomotive (ie its frames and motion), where a considerable amount of work was needed. We first had to remove all of the peripheral parts such as coupling and connecting rods, brake gear and the horn stays, and all the parts removed put into safe storage. Once this had been done, it would be possible to lift the locomotive up off its wheels, in order to assess the extent of 'wear and tear' on it, but this step would have to wait until there was space available in the workshop. The next two pictures show the frames before and after the removal of the coupling rods.
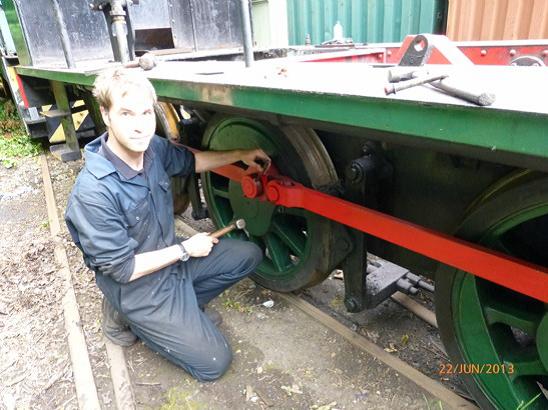
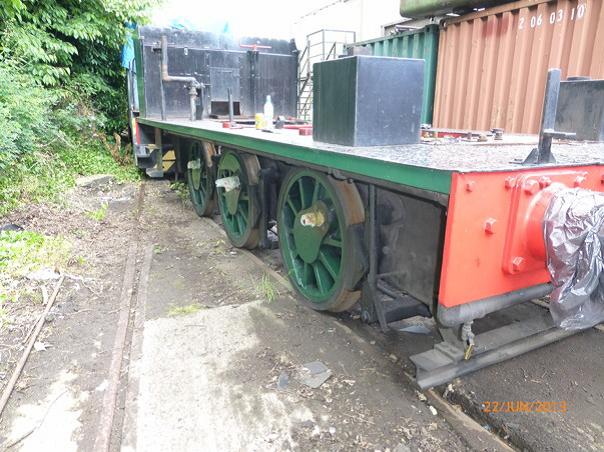
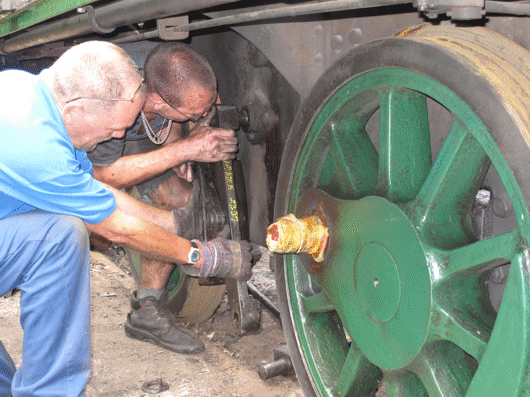
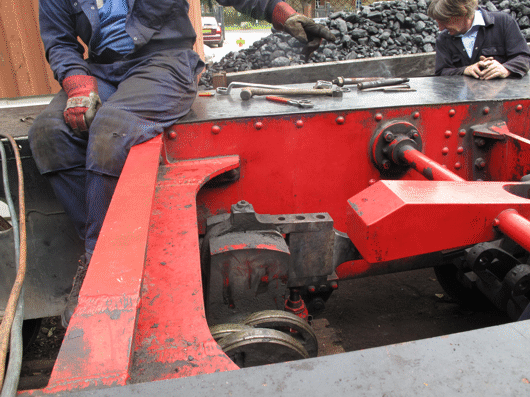
With the coupling rods out of the way, the next step was to remove the brake blocks from the hangers, and then the brake hangers from their pivots, as shown below. Meanwhile, between the frames, the rest of the motion could be removed piece by piece, although some of the bolts holding them together needed a lot of persuasion to come undone - hence the assortment of tools in the picture.
Once these parts had all been removed, work stopped for a while during the winter: trying to dismantle steam locomotives out of doors in rain or snow is not conducive to doing a good job. So, volunteer efforts were redirected to other projects, to prepare for the start of the 2014 operating season.
Summer 2014
Once we had better weather work could resume, but there was now not a lot more that could be done until the frames could be moved into the workshop. One job that was done, however, was to renew the concrete that covers the cylinder block to form the floor of the smokebox. The pictures below show the corroded state of the old concrete, and then the top of the cylinder block once the old concrete had been removed, and finally the new concrete in place. Notice the cover plates that have been fitted to the flanges for the main steam pipe into the cylinders (the smaller one on the right in the first picture) and for the exhaust pipe from the cylinders (in the centre).
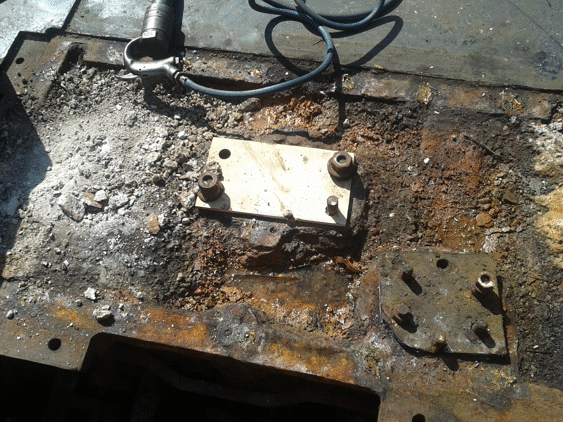
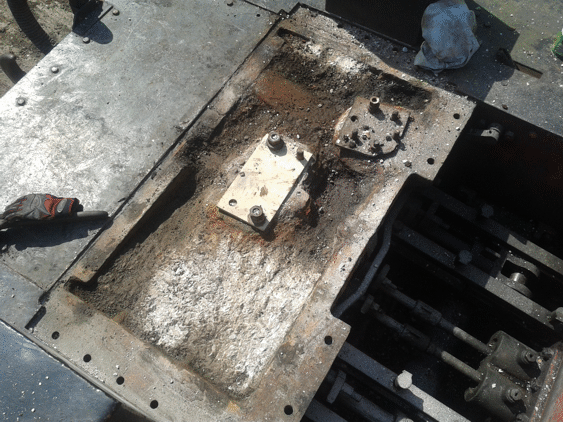
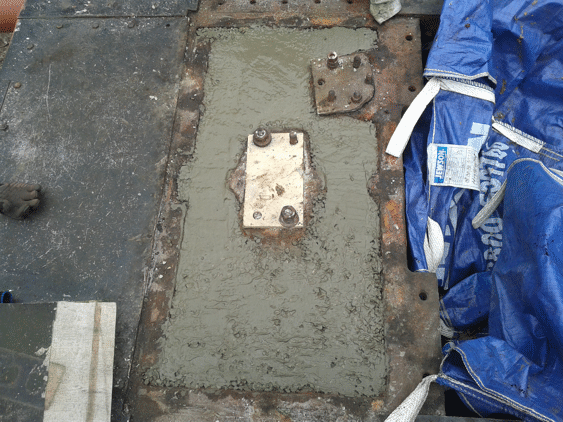
Our young (and some not-so-young) volunteers continued to do what work was possible on this project, but progress was more-or-less halted until the frames could be moved into the workshop for the next phase of the work. After having had a hard life in industry and as a 'Thomas' loco on hire, we knew that this next phase was likely to involve a lot of work on re-pinning, bushing and replacing parts of the locomotive. We had even had to put special contingencies into the budget for re-boring and fitting liners to the cylinder block if necessary, and also for re-facing the valves. If either of these turned out to be needed then some exciting engineering was likely to be involved.
Go on to the next stage in this project.
Return to the overall description of this project.
More Information
Other pages about this project:
Other pages provide more information about:

